The Microsoft Bot Framework is a flexible framework for building conversational bots. A bot can be written once and deployed to multiple channels including webchat, Microsoft Teams, Alexa and SMS. It supports text, speech and rich GUIs with images and controls.
In this three part series, I’ll register a ‘hello world’ bot application as an Azure Bot Resource and then look at how to customise my bot behaviours. Finally I’ll make it available to a chat widget on a web page, SMS and consume it from a Node.js application.
In this part, I’ll register and configure a bot with Microsoft Azure Bot Service. It might seem odd to start here rather than going straight into the application code. However, getting this step out of the way gives us something simple to play with that works end to end.
Start a Bot Application
First, let’s start a Bot Framework application. In the next article we’ll build our own but for now, let’s build on someone else’s hard work.
compulim’s BotFramework-MockBot is great as it shows off many features of the Bot Framework rich UI. Start by git cloning it (or download the zip):
git clone git@github.com:compulim/BotFramework-MockBot.git
Now let’s run it locally. If you’re comfortable with Node.js / npm you can run it directly with npm start. However, I like Docker and compulim kindly provided a Dockerfile so I’ll use that. I’ll create a simple docker-compose.yml file just so I don’t need to specify port and environment variables on the command line:
version: "3.7"
services:
  mockbot:
    build: .
    ports:
      - "80:80"
Start it with docker-compose up -d and then check the logs with docker-compose logs -f
mockbot_1  | /bot/lib/generateDirectLineToken.js:35
mockbot_1  |   console.log(`Generating Direct Line token using secret "${DIRECT_LINE_SECRET.substr(0, 3)}...${DIRECT_LINE_SECRET.substr(-3)}" and user ID "${userID}"`);
mockbot_1  |                                                                                ^
mockbot_1  |
mockbot_1  | TypeError: Cannot read property 'substr' of undefined
mockbot_1  |     at _default (/bot/lib/generateDirectLineToken.js:35:80)
mockbot_1  |     at async Immediate.<anonymous> (/bot/lib/index.js:508:7)
botframework-mockbot_mockbot_1 exited with code 1
Oh dear. Something’s gone wrong. Looks like it’s missing an environment variable. Never mind. We’ll come back to it.
Expose the application with ngrok
The application is running (nearly!) on my laptop but we need Microsoft Bot Framework to connect to it. We can deploy it to Azure or another cloud provider. But for development it’s easier to use ngrok.
ngrok http 80
Note the HTTPS URL provided by ngrok. We’ll need it later.
Register an Azure Bot Resource
If you’ve not already, create a free Azure account. Then create a new Azure Bot resource.
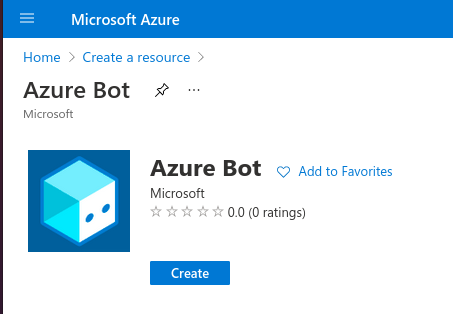
Give it a memorable name, select a resource group (creating a new one for this is probably a good idea). You can switch to the free pricing tier if you’re just trying it out.
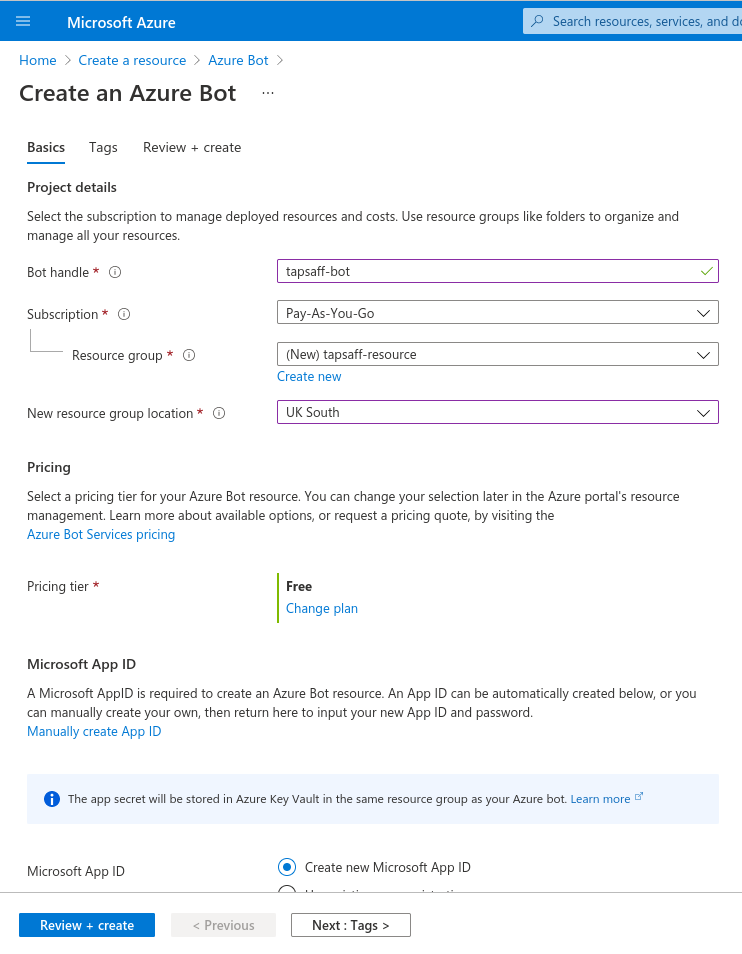
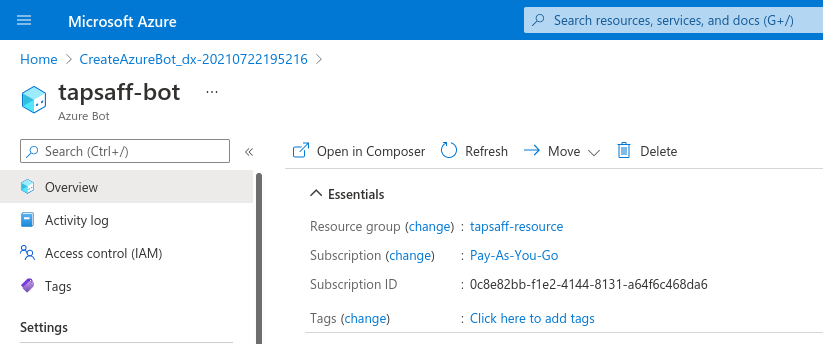
Click Review + create and then Create. Give it a minute or two to do its thing then click Go to resource.
Configure the Azure Bot Resource
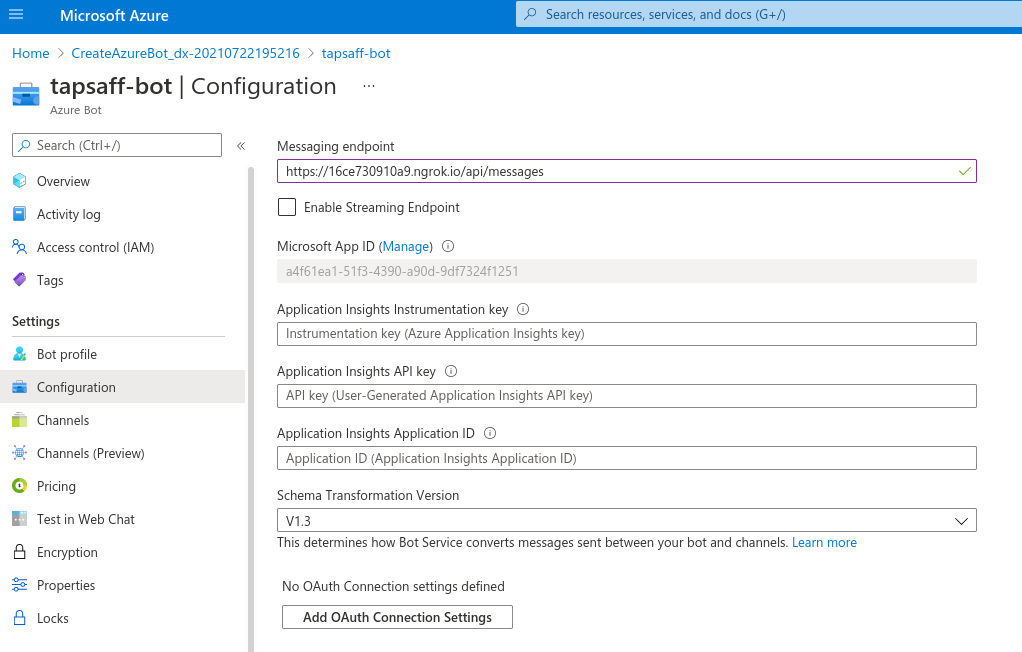
We want the bot endpoint to be the application we set up earlier. This is the messaging endpoint in the Configuration blade. URL should be the ngrok HTTPS url with /api/messages on the end.
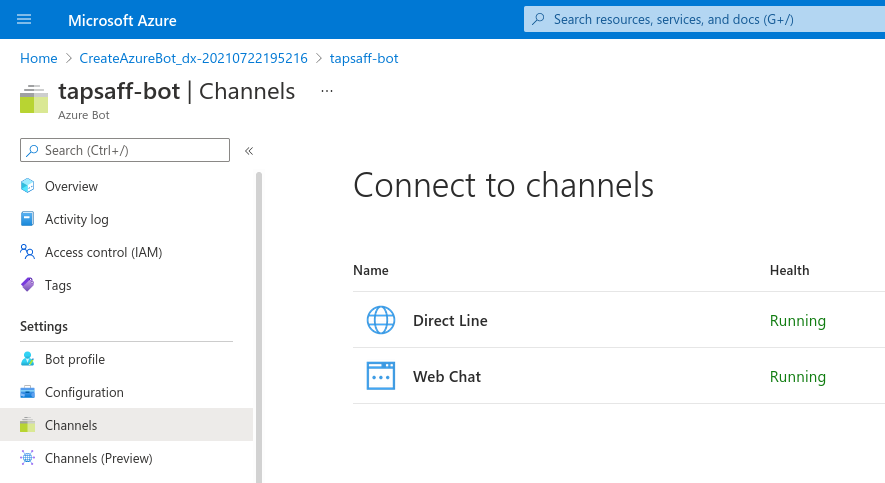
Next, have a look at the Channels blade. This is where the magic happens! This sets up the clients we want to consume our bot.
The Web Chat channel is set up by default. We also want the Direct Line channel for this demo. We’ll look at setting up a couple of other channels in a future article.
Configure the application
When we tried to run the BotFramework-MockBot application earlier it failed as it’s missing configuration. Now that we’ve created the Bot Resource in Azure we have all the settings we need. We need to set them as environment variables:
MICROSOFT_APP_IDMICROSOFT_APP_PASSWORDDIRECT_LINE_SECRET
First the easy one. MICROSOFT_APP_ID is in the Configuration screen.
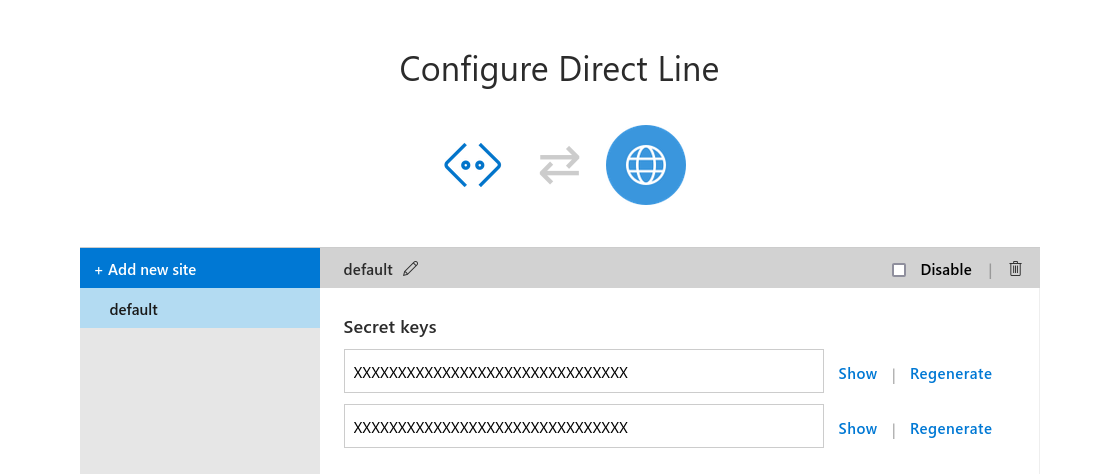
The DIRECT_LINE_SECRET is in the Channels blade. Click Edit next to Direct Line and the secrets are shown (obfuscated).
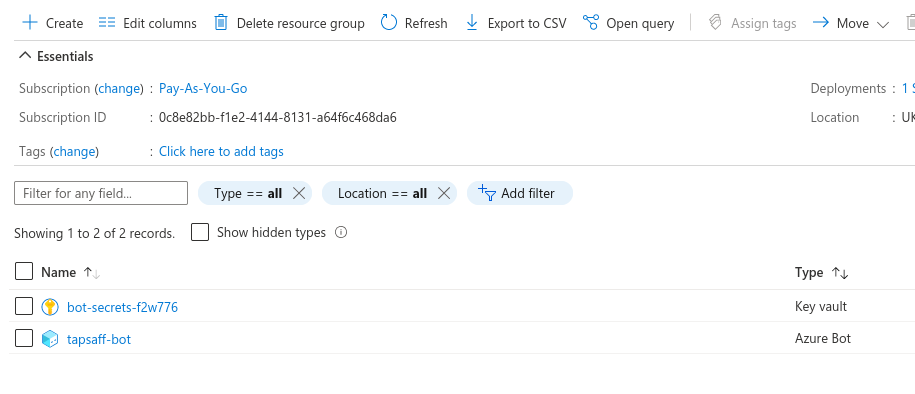
Lastly the MICROSOFT_APP_PASSWORD is in the Key Vault that Azure helpfully created for you when you weren’t looking. Go back to the Overview blade and click on the Resource Group. If you created a new resource group with your bot it should contain the bot and a key vault.
Click into the key vault and go to the Secrets blade.
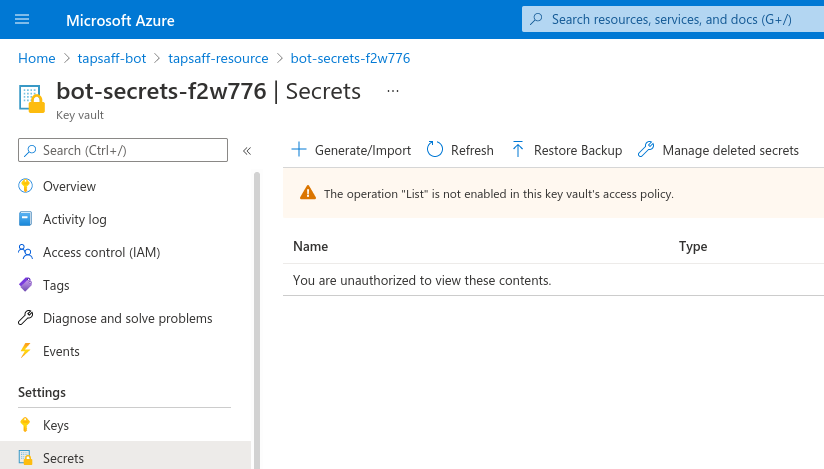
Oh no! You’re not allowed! You’ll need to grant access to yourself from the Access Policies blade. Click Add access policy and then use the Secrets management template. Then click next to Select Principal and enter your own email address (the one you logged into Azure with). Click Add, then Save.
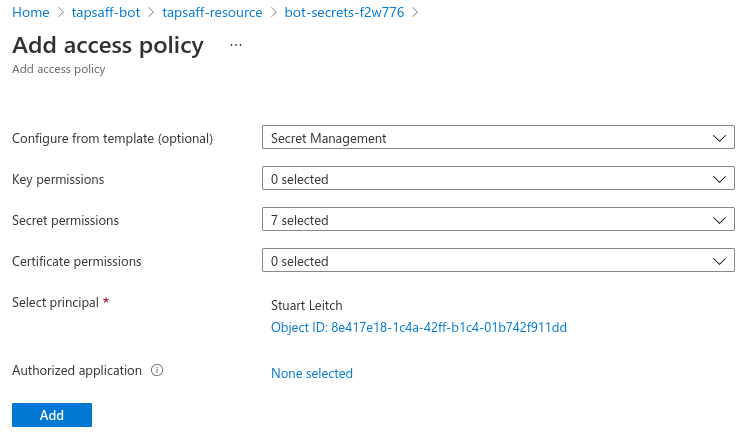
Now we can get into the Secrets blade. Click on the secret (there should be just one) and the current version (again, should be just one). No need to show the secret. Just copy it to the clipboard.
Start the application
We need to provide the three environment variables to the application. If you’re following along with Docker, just add them to the docker-compose.yml and paste in the values from above.
version: "3.7"
services:
  mockbot:
    build: .
    environment:
      MICROSOFT_APP_ID: the-app-id-from-config-screen
      MICROSOFT_APP_PASSWORD: the-password-from-key-vault
      DIRECT_LINE_SECRET: the-secret-from-direct-line-channel
    ports:
      - "80:80"
Start the app with docker-compose up -d This time the application should start up fine.
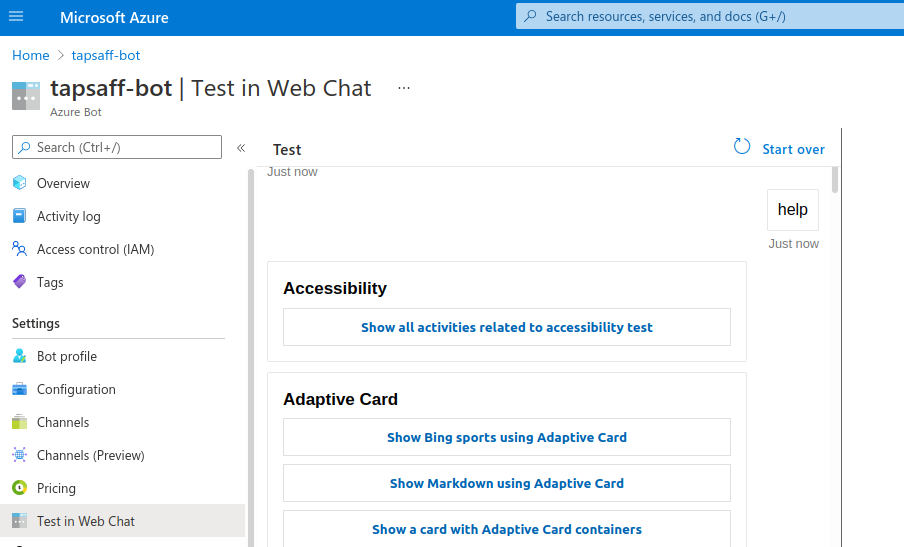
To test it, go back to the bot in Azure and click the Test in Web Chat blade. Type help and it will show you what it can do!
Next up
That’s quite a lot of work for a simple hello world application that we didn’t even write ourselves. However, we now have a registered Azure bot that we know works.
Next time, we’ll look at how to create our own bot application from scratch.
[…] « Microsoft Bot Framework Part 1: Create an Azure Bot Resource […]